Monday, April 30, 2012
It's My Birthday!
It's my birthday today.
And I shall be mostly standing on spiral staircases in very long dresses, like so....
{I'm thinking that long trail could come in handy for a spot of cleaning.
Those railings must get ever so dusty
...always practical, my friends, always practical.}
I LOVE birthdays!!
I made up a family rule which says that on your birthday
you're allowed to choose whatever you want to do.
{An excellent idea, if I may say so!!}
I've had a wonderful morning
opening the sweetest presents from my kiddiewinks...
And now I'm off for a special lunch with Guy...
Image Unknown...
Sunday, April 29, 2012
Saturday, April 28, 2012
Friday, April 27, 2012
Children's Bedrooms: Flooring Inspiration
Flooring can make or break a room.
It's such an easy aspect to overlook but leaving tatty old carpet down while you spruce up the rest of the room is a bit like leaving one of the walls undecorated. When we decorate a room, I always try to do the whole shabang and not leave bits and pieces of extra work trailing around for years.
So, flooring-wise, here's what I narrowed our choices down to:
Carpet:
![]() |
| Unknown |
Painted floorboards:
![]() |
| Via Marie Claire |
Wooden flooring:
![]() |
| Via Something Hiding In There |
I bypassed natural flooring like sisal and jute because although they look gorrrrrgeous initially, they stain pretty easily and don't react well to the wet.
{If I could have a pound for each time I've had to mop up what shall be vaguely termed 'spillages' in my children's bedrooms then I'd be a very rich lady...}
Which leads me onto my main point....
When decorating children's rooms, it's so easy to be sucked in by what looks great on the page of a catalogue...BUT BUT BUT what really counts is how good it'll look in YOUR home....a year or two down the line.....
Fancy-shmancy options will look fab for a little while but I want our rooms to look great when they're well-lived in.
Is that too much too ask?
Wednesday, April 25, 2012
Designing Our Fitted Cupboards Part 2
With our fifth baby on the way, we're always looking for ways to improve storage, particularly in our current phase of having to store what feels like a bazillion boxes of clothes between children using them. When I was looking at the existing fitted cupboards in this bedroom, it suddenly occurred to me that there might be extra space above the lower cupboard that wasn't being used. A secret hole!! See what I mean?....
And it turned out I was right! Yeeeah! Free space! One of the things that bothered me about the existing cupboards is the way they were so mismatched. One way up high and the other mid-height. Odd. This extra secret space gave us some leeway to be able to even the whole space out.
We altered the cupboard plans to include another double cupboard above the existing lower space, and fiddled about with heights to bring both sets of doors to the same height.
The next step was working out how to bring in period details again.
{These were NOT the original cupboard doors so no guilt about ripping them out.}
Four words:
architraves,
cupboard style,
handles,
hinges...
{Okay, that's five but read on to see what I mean...}
We changed the architrave surrounding the cupboards to match the main door to the room.
I love Shaker style cupboard doors, and chose beading to compliment the beading on the main door (more on that to come!!).
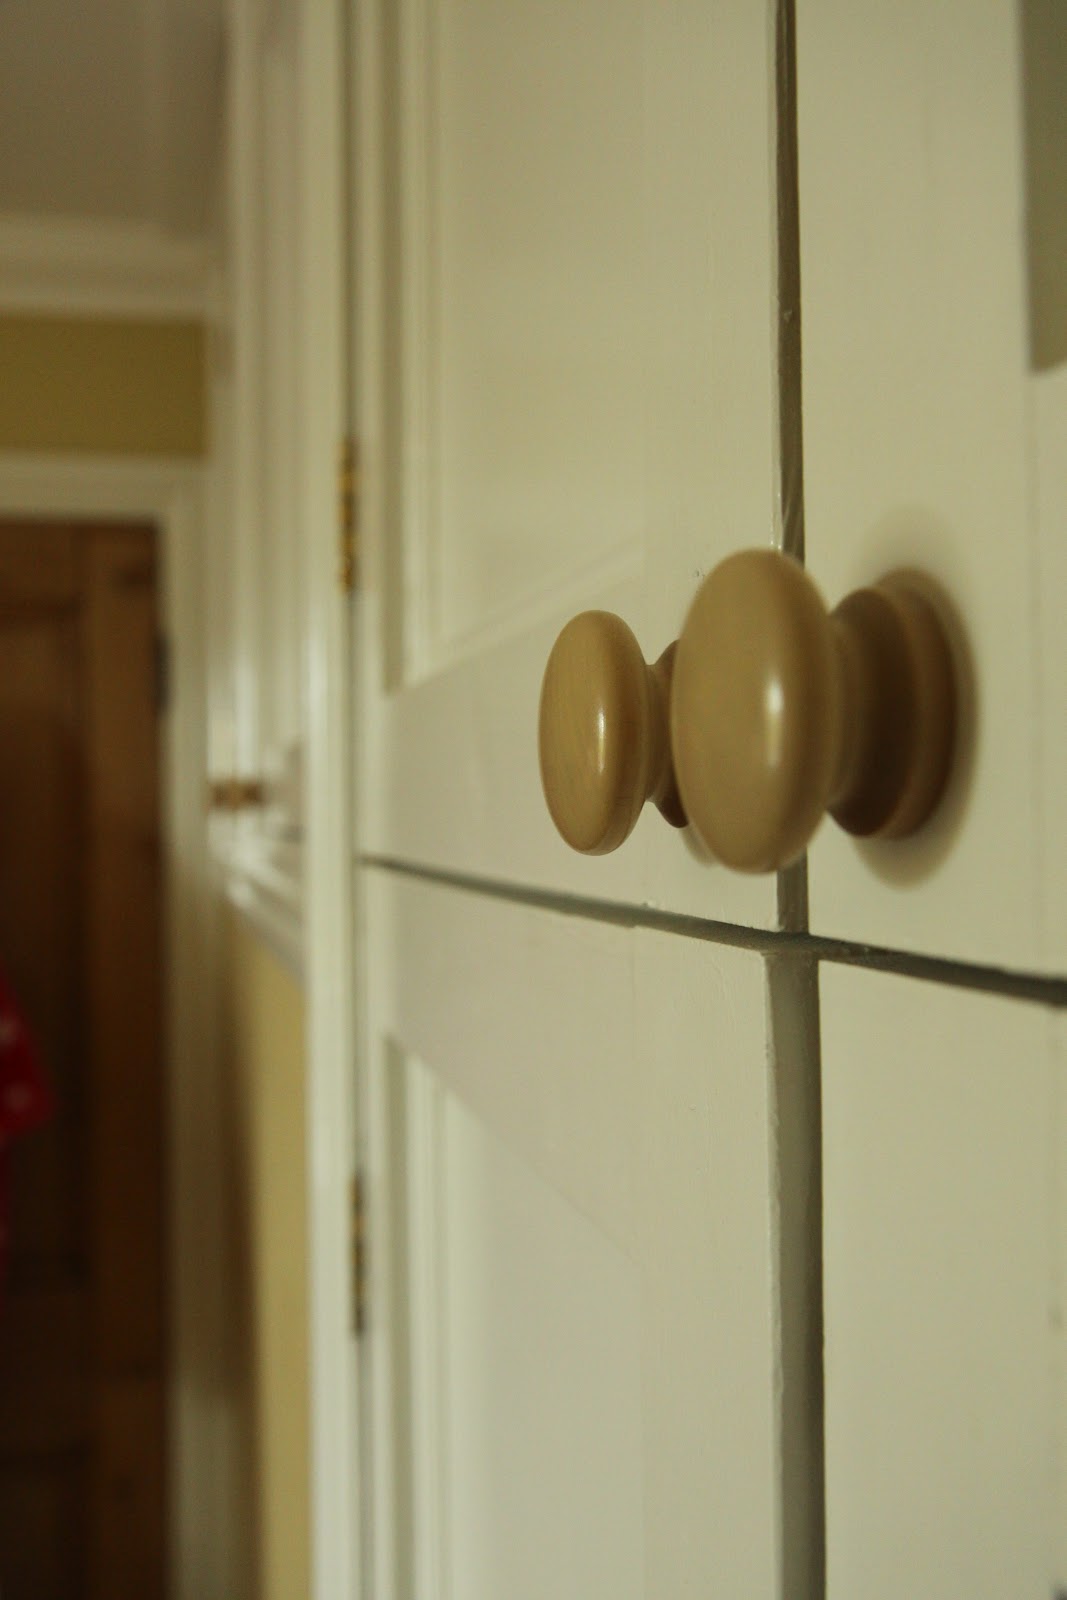
The handles are now chunky, matt-glazed wood.
Perfect for little dimpled hands!
Rather than using kitchen-cupboard type hinges, which ends up with doors shutting onto the existing frame, I prefer to use hinges that ensure the doors fit within a frame for a more bespoke look. I love these brass hinges with silver detailing. Yum!
See how I've lopped off the bottom of the cupboards from these photos? That's to keep the floor hidden from your all-seeing eyes...
but not for long...
Yup, next up:
FLOORING !!


